Lead411 API V3
V3 api documentation
Introduction
The Lead411 V3 API provides comprehensive access to B2B contact and company data, including employee information, company details, search capabilities, and suppression list management. This API enables developers to integrate Lead411's extensive business intelligence database into their applications.
Base URL: https://api.lead411.com/v3/
Authentication Overview
The API supports three authentication methods. Depending on your integration needs, you may authenticate using Username & Password, OAuth Authorization Code Flow, or an API Key.
Method 1. Username & Password Authentication
This method allows clients to obtain an Access Token and Refresh Token directly using user credentials.
Endpoint: POST {{URL}}/auth/login?email=<user-email>&password=<password>
Response: access_token, refresh_token, token_type, expires_in
Usage: Use the returned access_token in the Authorization header: Authorization: Bearer <access_token>
Method 2. OAuth Authorization Code Flow
This method enables users to authenticate via a redirect-based OAuth process.
Step 1: Get Auth Code → Validate username/password, Return authorization code
Step 2: Get Token → Exchange auth code, Return access token
Use Token in All API Calls → Authorization: Bearer {{token}}
Method 3. API Key Authentication
This method allows direct access to APIs using an API Key without user-specific tokens.
Endpoint: GET {{URL}}/getCustomerDetails
Headers: X-API-KEY: <your-api-key>
No additional token exchange is required. The API key grants direct access to the permitted resources.
Response Format
Success Response:
{
  "status": "success",
  "data": { /* Response data here */ }
}
Error Response:
{
  "status": "error",
  "message": "Error description",
  "error": "error_code"
}
Common HTTP Status Codes
- 400 Bad Request - Invalid parameters or malformed request
- 401 Unauthorized - Missing or invalid access token
- 403 Forbidden - Insufficient permissions
- 404 Not Found - Resource not found
- 429 Too Many Requests - Rate limit exceeded
- 500 Internal Server Error - Server error
Rate Limiting
The API implements rate limiting to ensure fair usage. If you exceed the rate limit, you'll receive a 429 Too Many Requests response. Implement exponential backoff in your retry logic.
MCP Configuration (includes Claude Desktop settings)
Lead411 with Claude Desktop (MCP Access)
Lead411 supports Model Context Protocol (MCP) for approved customers, allowing you to access Lead411 directly inside Claude Desktop using natural language.
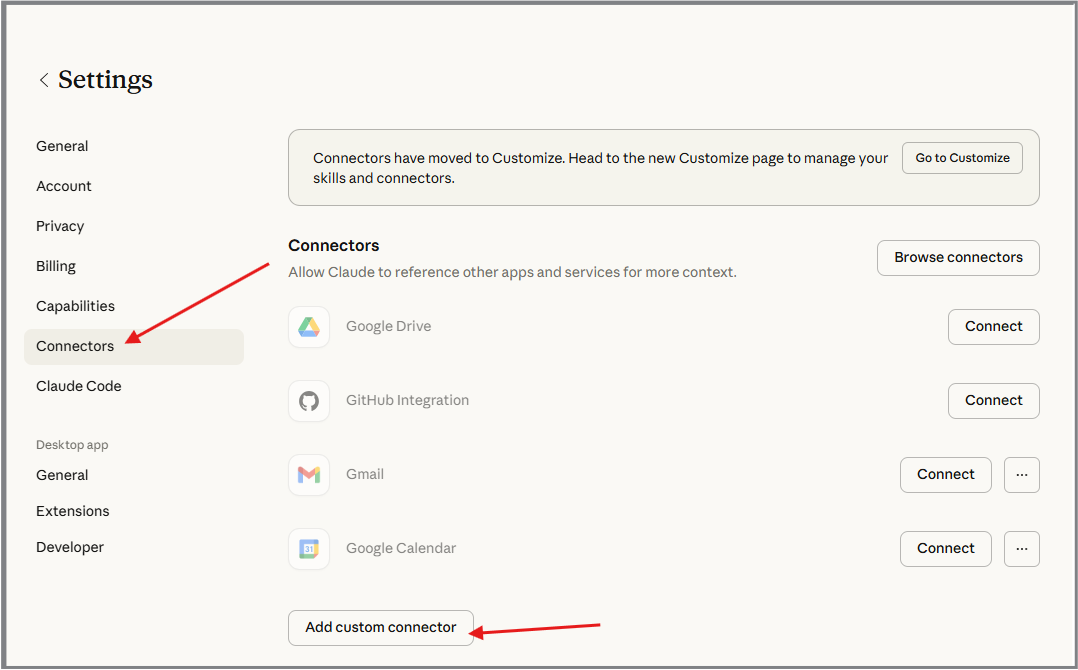
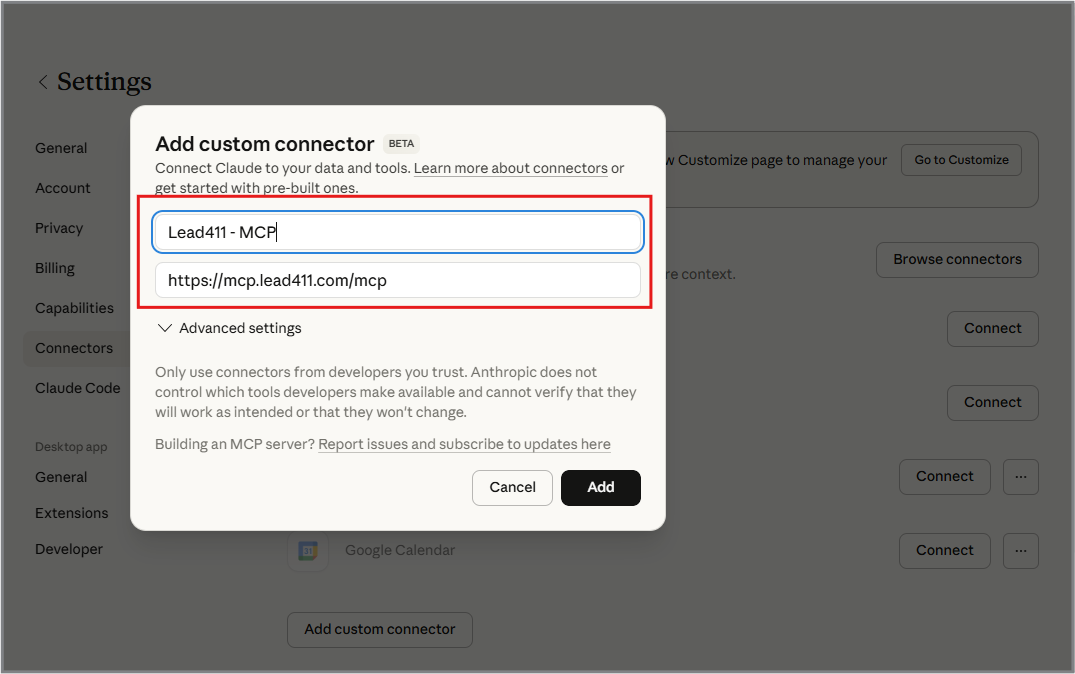
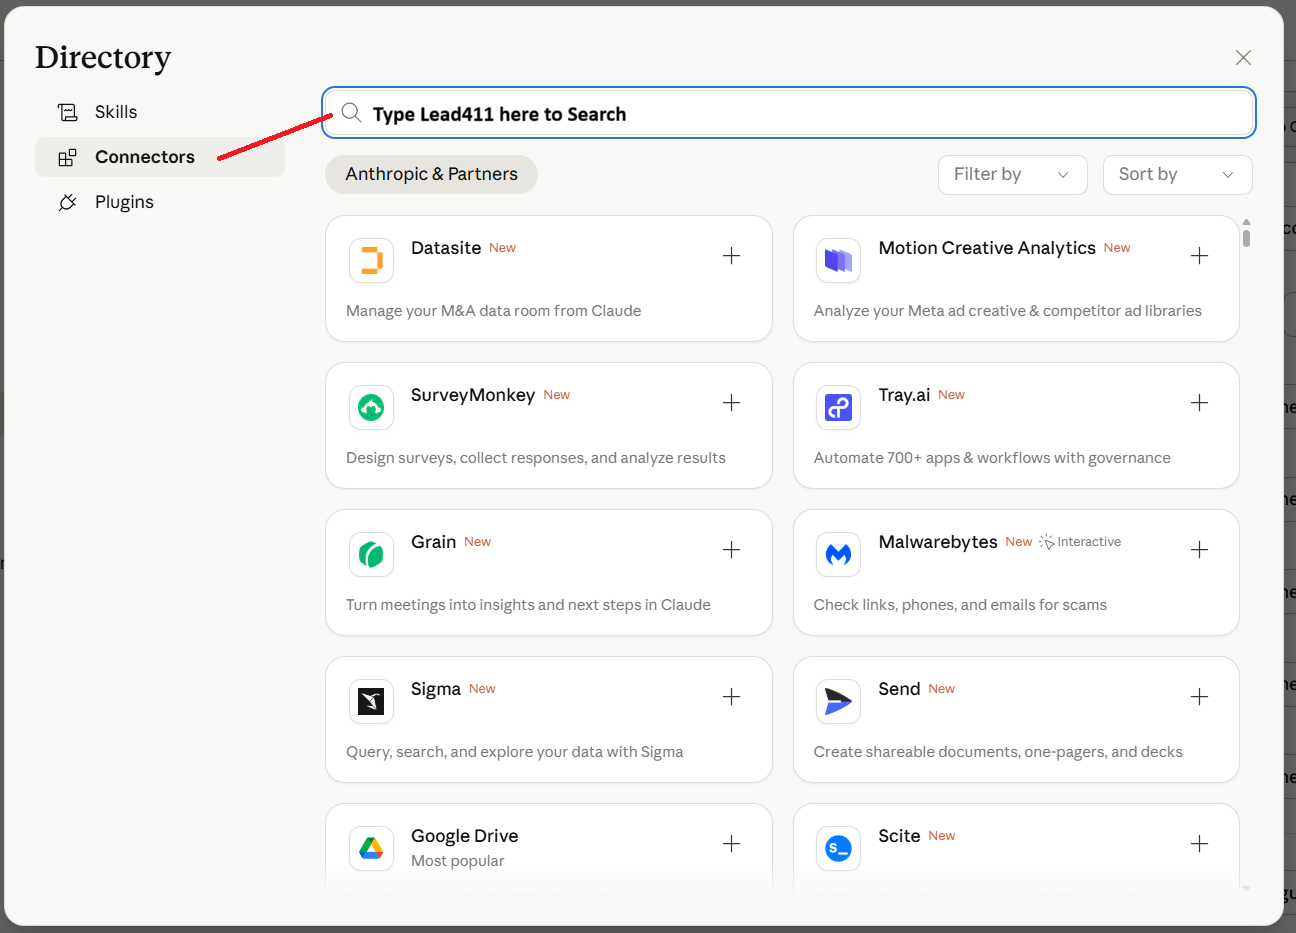
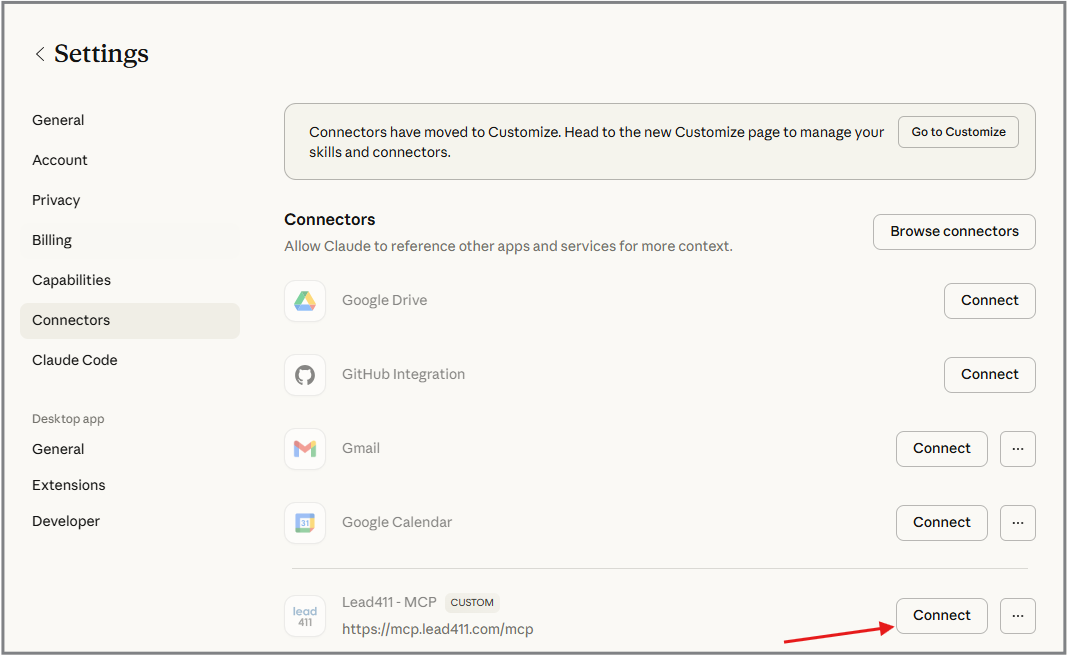
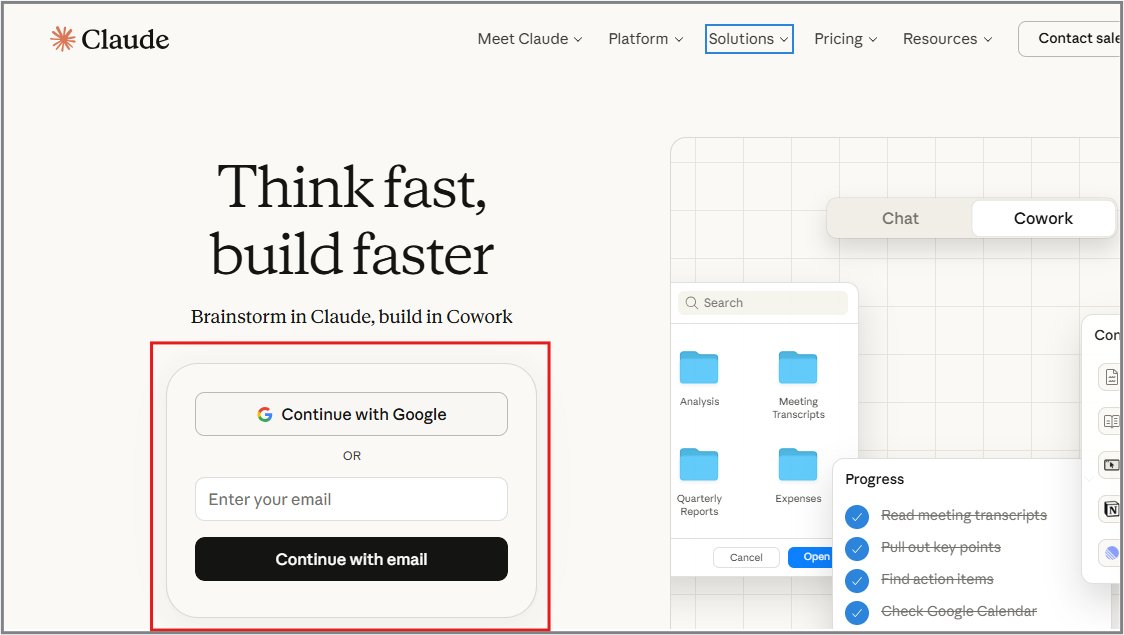
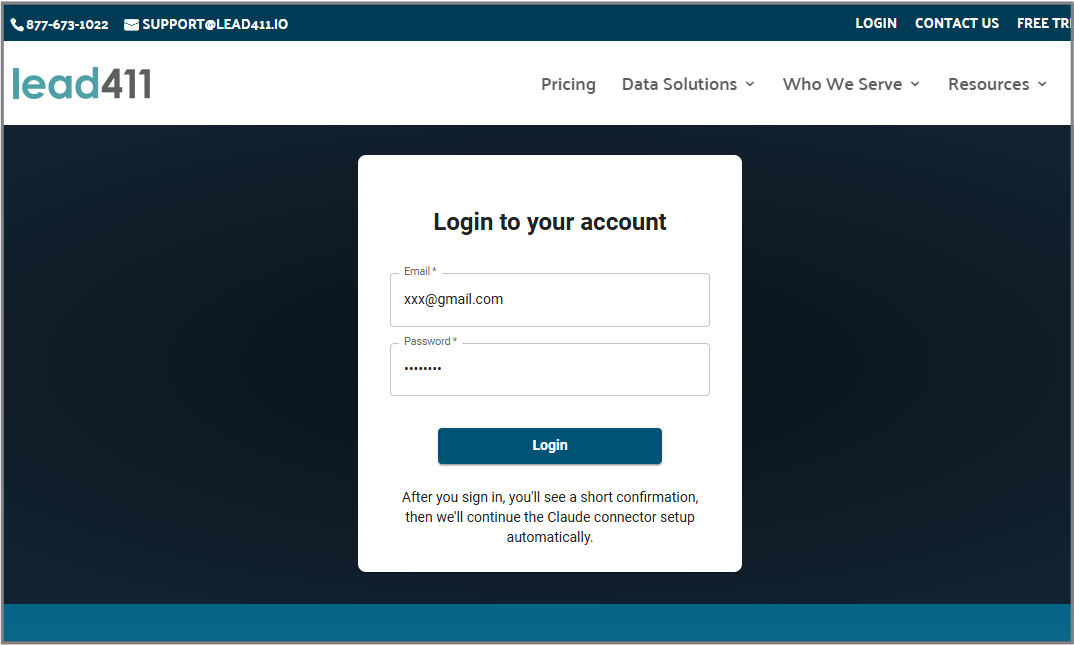
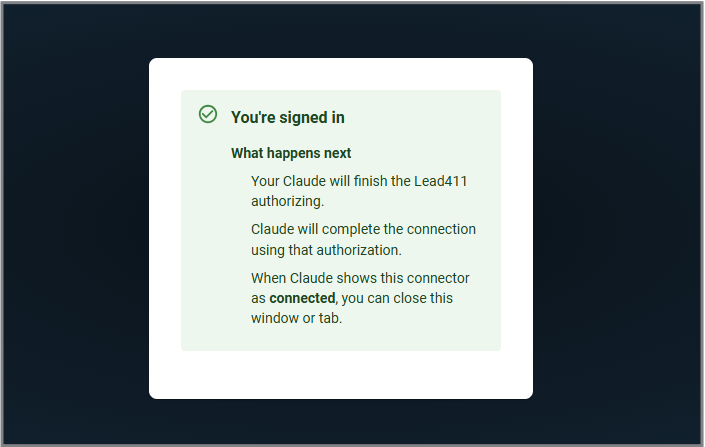
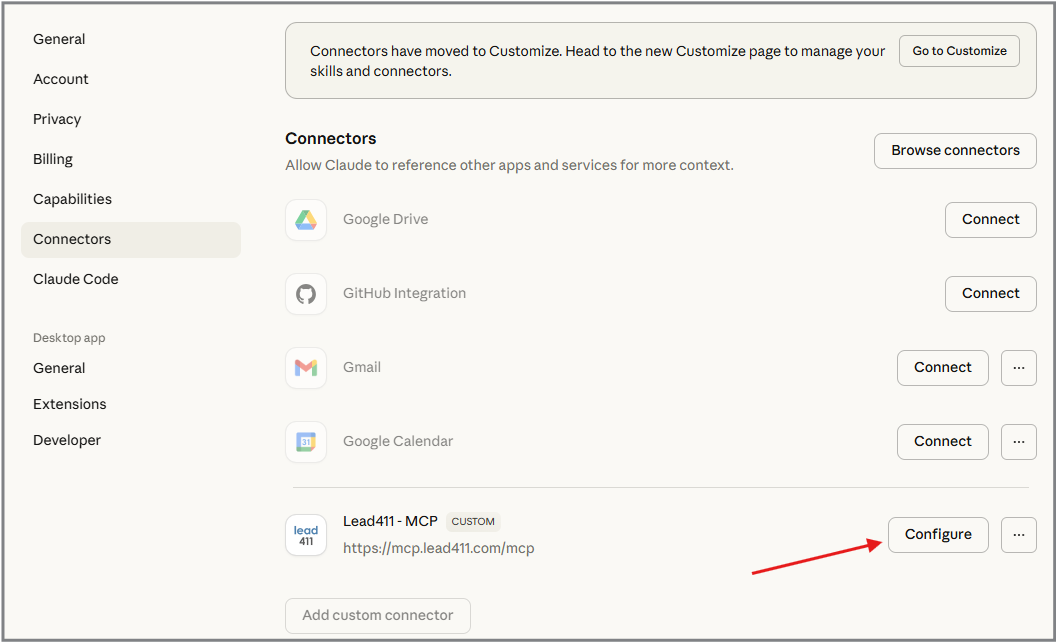
Claude.ai (recommended): Use Custom Connector in the Claude.ai web app (OAuth, no config file). Step-by-step instructions are on the MCP Integrations tab. The prerequisites and JSON samples below are for the optional Claude Desktop app with mcp-remote.
Note: MCP access is restricted and must be enabled on your Lead411 account. If MCP access is not enabled, requests will return 401 Unauthorized.
Prerequisites
- An active Lead411 account
- MCP access enabled for your account
- Claude Desktop installed (Download here)
- Node.js installed (nodejs.org) – required for
npx mcp-remote - mcp-remote – installed automatically via
npxwhen Claude Desktop connects; no manual install needed if using the config samples below
Installation note: The config uses npx mcp-remote, which downloads and runs mcp-remote on first connect. Ensure Node.js is installed. Alternatively, install mcp-remote globally: npm install -g mcp-remote and use "command": "mcp-remote" in the config args.
Configure Claude Desktop
Step 1: Locate Claude Desktop config file
macOS
~/Library/Application Support/Claude/claude_desktop_config.json
Windows
%APPDATA%\Claude\claude_desktop_config.json
Step 2: Add Lead411 MCP server
Add one of the configurations from the right panel and restart Claude Desktop. Choose the config that matches your chosen authentication method. See MCP Authorizations for details on each method.
Getting Started – Example Prompts
- Login:
Log me into Lead411 using my email and password - Get employee by email:
Get employee information for example@lead411.io - Search employees:
Find CEOs at SaaS companies in California who have direct phone numbers - Get company info:
Get company information for company ID 134001 - Check quota:
Show my available Lead411 unlock quota - Unlock record:
Unlock the employee record with ID 1234
Authorization Errors
If your account does not have permission to access MCP, the API will return HTTP 401 Unauthorized. Contact Lead411 Support to enable MCP access.
Notes
- MCP access is permission-based and audited
- All actions are tied to your Lead411 account
- Abuse may result in MCP access being revoked
MCP Authorizations
Lead411 MCP supports three authentication methods. Choose the one that best fits your use case.
Option 1: API Key (X-API-KEY header)
The simplest option. Pass your API key via the X-API-KEY header. Use configuration sample 1 in the MCP Configuration section. Set LEAD411_API_KEY in the env block to your API key. No login prompts required.
Option 2: Email & Password Login
Authenticate using your Lead411 credentials through Claude prompts.
Example Prompt:
Log me into Lead411 using my email and password
Use configuration sample 2 in the MCP Configuration section.
Option 3: OAuth Authorization Code Flow
Recommended for enterprise or SSO-based access. Claude will guide you through the authorization process.
Step 1 – Start OAuth flow:
Start the OAuth login process for Lead411
Claude will return an authorization URL. Open the link in your browser and complete authentication.
Step 2 – Exchange code:
Exchange this authorization code for an access token: <PASTE_CODE_HERE>
Once completed, Claude will store the access token and all subsequent MCP requests will be authenticated automatically.
Use configuration sample 2 in the MCP Configuration section.
Downloads
OpenAPI 3.1: openapi.yaml · openapi.json
Postman: Lead411 V3.postman_collection.json